Buscar
-
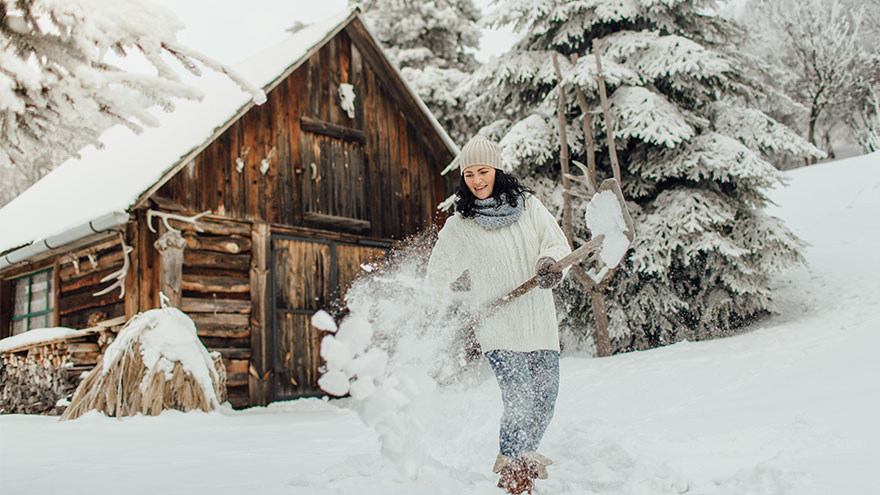
6 consejos para palear la nieve de manera segura
While the appearance of a winter wonderland in your yard can be a welcome one, an accompanying aspect is not: the idea of clearing your driveway and sidewalks. The sometimes-daunting task of snow shoveling is a repetitive activity that can cause muscle strain to the lower back and shoulders. However, by following the tips below, you will spend more time appreciating your winter wonderland -- when your sidewalk and driveway are all clear, that is. But, we all know that injuries happen, and if you do find yourself with back pain that does not resolve in a few days, contact your primary healthcare provider, or visit a Renown Urgent Care. Another way to avoid injury during strenuous activity, or help heal an injury that won't go away, is to work with a physical therapist who can offer at-home exercises to keep your body strong. 6 Tips for Safe Snow Shoveling Following these tips from the American Physical Therapy Association can help you avoid injuries: Lift smaller loads of snow, rather than heavy shovelfuls. Be sure to bend your knees and lift with your legs, rather than your back. Use a shovel with a shaft that lets you keep your back straight while lifting. A short shaft will cause you to bend more to lift the load. Using a shovel that’s too long makes the weight at the end heavier. Step in the direction where you are throwing the snow to prevent the low back from twisting to help prevent “next-day back fatigue.” Avoid excessive twisting because the spine cannot tolerate this motion. Bend your knees and keep your back as straight as possible so that you are lifting with your legs. Take frequent breaks when shoveling. Stand up straight and walk around periodically to extend the lower back. Backward bending exercises while standing will help reverse the excessive forward bending of shoveling. Stand straight and tall, place your hands toward the back of your hips and bend slightly backward for several seconds. When in doubt, ask for help. The Reno community is a generous one and you can typically find snow shovelers for hire on local message boards like Nextdoor and Facebook. Or, if you have a kid in your neighborhood, they might be looking to make some extra money on a snow day.
-
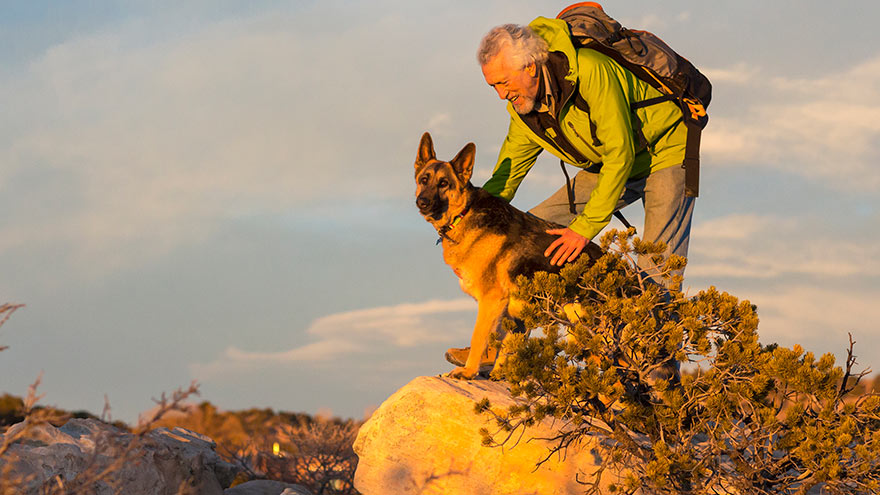
Emergency Hiking Kit Essentials
With the help of Aaron Bertalmio, MD of Renown Urgent Care, we're sharing nine essential must-have items for your hiking emergency kit. 9 Essential Items For Your Hiking Emergency Kit With more than 300 days of sunshine in Reno-Tahoe and plenty of trails to explore, you'll want to keep these essential items in your kit. 1. Water Surprisingly, this no-brainer, however, is often overlooked. Bring enough water to last for the entire adventure. This amount of water can be heavy depending on the distance, altitude or intensity. With this in mind, the next best bet is to filter or purify water from a lake or stream. Here's how: You can do this with iodine or chlorine dioxide tablets, charcoal or an ultraviolet light wand. Tip: Look for water that is moving or rushing over rocks. Having enough water or filtration cannot be underestimated. "If you become injured and need to wait for help, you can only last about three days without water," Dr. Bertalmio says. 2. Food Meals-Ready-to-Eat (MREs) or dehydrated food pouches are essential, ensuring you have plenty to eat if you're outdoors longer than expected. 3. Maps Bring a printed map, compass or GPS. You can't always rely on your smartphone, so this is the perfect backup plan. 4. First-Aid Supplies Your hiking first-aid kit should change based on the type of hiking. As a basic rule, keep the following items in your pack: Fever/pain reliever Sewing kit with safety pins Tweezers Bandages and moleskin Antibiotic ointment Duct or medical tape Whistle 5. Light Source Wear or pack a small headlamp to illuminate the way if you get caught outside after sunset or in a poorly lit area. Headlamps are also great in emergencies because they are hands-free. 6. Emergency Shelter Even if you're only going out for the day, pack a low-weight emergency blanket for the trip. In other words, if the day trip turns into an overnight adventure, the blanket will keep you warm and alive in the event of cold temperatures. 7. Fire Starter Pack small tools in your hiking emergency kit to ensure an easy fire start. Waterproof matches, a knife, a lighter, or a strike fire starter are great options. Tip: Bring a multi-tool, including a knife and scissors that can be used for first-aid. 8. Layers of Clothing Mother Nature likes to change her mind in northern Nevada, and temperatures vary significantly within 24 hours. Therefore, pack a compact, lightweight waterproof and windproof jacket. This will protect you from being uncomfortably chilly and experiencing hypothermia. "Hypothermia is when your body temperature drops to a dangerously low level. You want to avoid this completely by keeping body temperature regulated outdoors and avoiding cold water immersion," says Dr. Bertalmio. 9. Sun Protection Certainly, sun protection should be part of your daily routine and an essential in your hiking emergency kit. You'll want to bring enough sunblock to reapply in direct sunlight and layers to cover exposed skin every two hours. Dr. Bertalmio reminds everyone the sun is intense in northern Nevada. "The higher altitude means an increased risk of sun-induced skin damage," he explains. "Some trails can reach above 10,000 feet, and at that altitude, UV radiation could be 35 to 45 percent more intense than at sea level."